Baldur’s Gate 3: All Moulds Locations, Mythril & More
| Tags: Features
| Author Paul Goño
Locations of all of the Moulds in Baldur's Gate 3's Adamantine Forge.
After almost 7 years of waiting, Baldur's Gate 3 has finally come out. And as everyone expected, the size of the D&D sim surpasses its predecessors, with cavernous dungeons scattered throughout its wide map. Among these subterranean challenges is the Adamantine Forge, a humungous crafting station you can find in Act 1 which lets you forge incredibly powerful items from its namesake's ore. But before you can make anything with the lava-powered construct, you'll need to find the required Mould.
Hotfix #2.1 is now live for Baldur’s Gate 3.
As it turns out, you were doing so much that personal story databases got too big, so we had to increase their size.
Read more: https://t.co/KaMrligdMq pic.twitter.com/4UXfCbMsBA
— Baldur's Gate 3 (@baldursgate3) August 10, 2023
Moulds are hollow containers which house the shape of the item you're trying to craft. While you also need to mine Adamantine before creating anything, the good news is that all 6 of the available Moulds are all found in the same dungeon, and they're relatively easy to acquire. Here's where you can find all of the Moulds in Baldur's Gate 3.
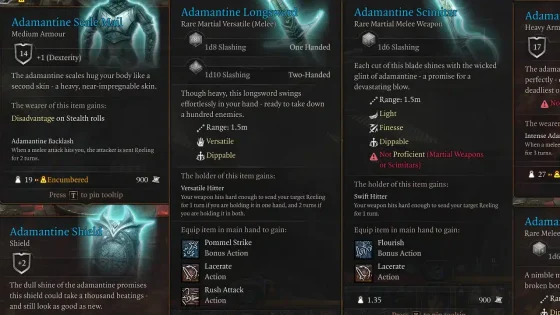
The Longsword Mould
Coordinates: X: -628, Y: 414

First on our list is the Longsword Mould. This crafting item is found on the central bridge northeast of the ‘Underdark – Grymforge' waypoint. Activate the lever on the western platform to bridge the gap between you and the Mould's location.
The Shield Mould
Coordinates: X: -561, Y: 409
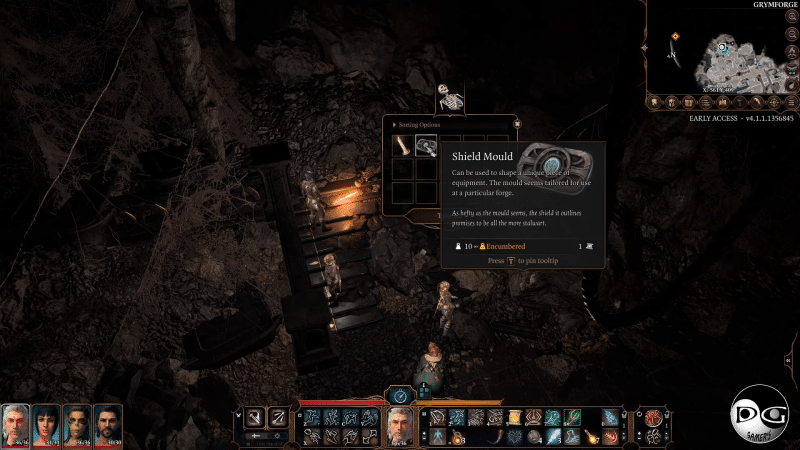
Travel eastward to reach the double stairs where you'll encounter some hellhounds. On the easternmost stair, you'll find a dead skeleton on the ground. Loot the pile of bones to discover a candle and the Shield Mould.
The Scimitar Mould
Coordinates: X: -602, Y: 322
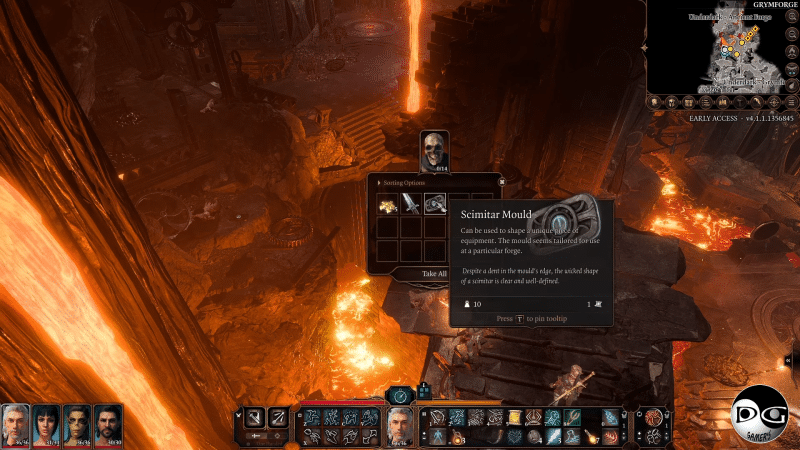
This crafting ingredient is found on a defeated skeleton's remains on an elevated stone platform north of the ‘Underdark – Ancient Forge' waypoint.
From ‘Underdark – Grymforge', cross the large gap using the suspended iron bridge. Once you reach the other side, go all the way south until the path ends in a large cobweb next to a spear rack. Jump across the gap and head straight past another suspended bridge. From there, you'll find stone stairs leading up to the skeleton that drops the Scimitar Mould.
The Mace Mould
Coordinates: X: -611, Y: 291
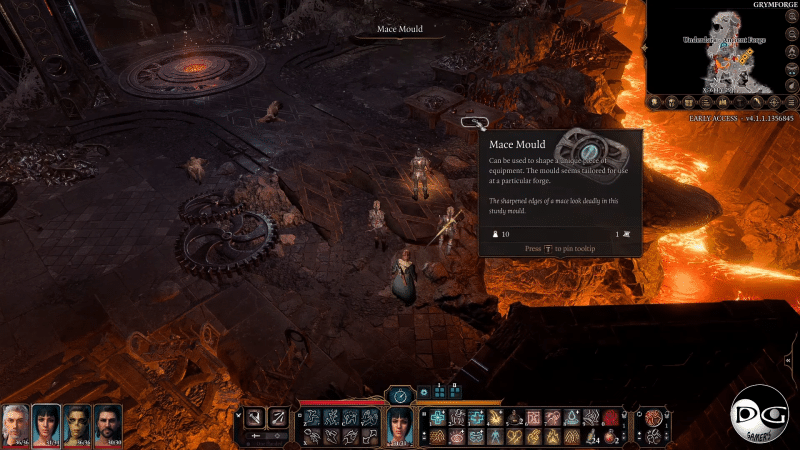
This deadly bludgeoning weapon's Mould is found on the crafting table just outside of the entrance to the Adamantine Forge, an area where more Moulds are littered throughout. Defeat the ghouls that haunt the entryway before claiming it for your own.
The Scale Mail Mould
Coordinates: X: -611, Y: 274
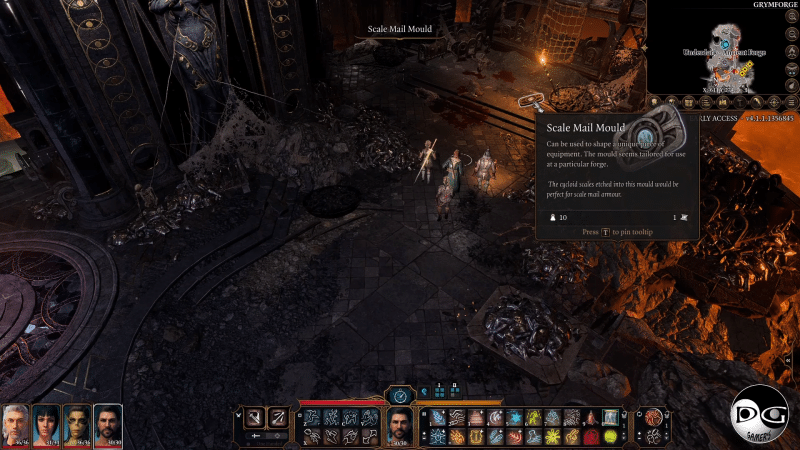
The second to the last Mould on this list is found under a lit torch just a few steps south of the Mace Mould. The Scale Mail Mould produces Adamantine Scale Mail, which gives your characters extra protection buffs against all assailants. Adamantine Armor in itself protects your intrepid heroes by applying Attack roll penalties to any enemy that succeeds in hitting you, making it a perfect for squishy front-liners with armor proficiency.
The Splint Mould
Coordinates: X: -595, Y: 306
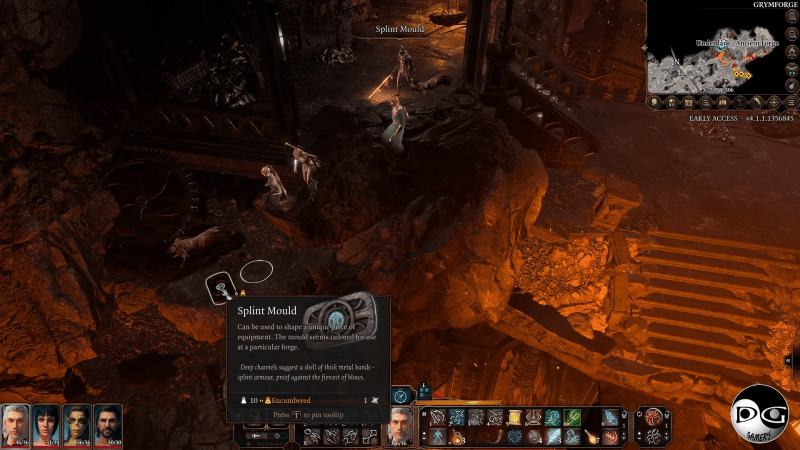
The last Mould can be found by heading northward from the table that holds the Mace Mould. Wandering outside the stone-laid path, you'll see a rocky incline that leads to the Splint Mould.
Mythril
You can't forge Adamantine if you don't have the main ingredient. Mythril ore deposits can be found in two locations within the dwarven complex.
To craft your preferred armament, both ore and Mould need to be inserted in the Adamantine Forge's center before being lowered in the lava chamber. Getting to the Underdark to accomplish this task in the first place can be done as early as Level 4. To learn how to get to the Adamantine Forge, follow our easy step-by-step guide here!
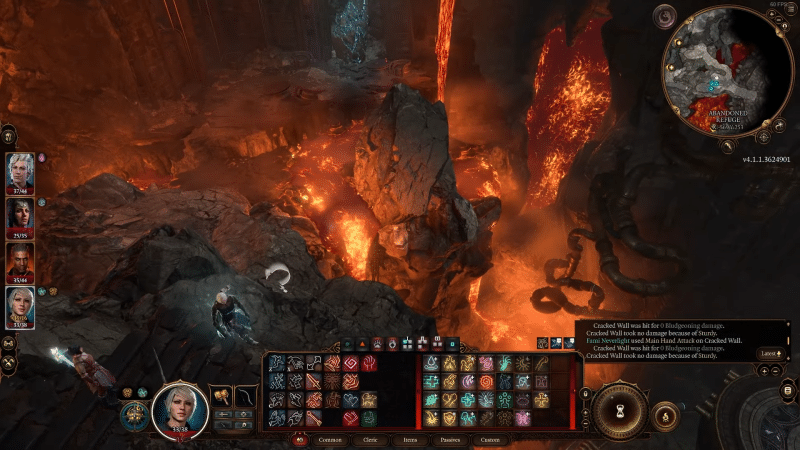
Mythril Deposit #1 – Abandoned Refuge
Coordinates: X: -569, Y: 253
Expect a Nephrit ambush when you start crossing the stone bridge. And remember that they explode upon death!
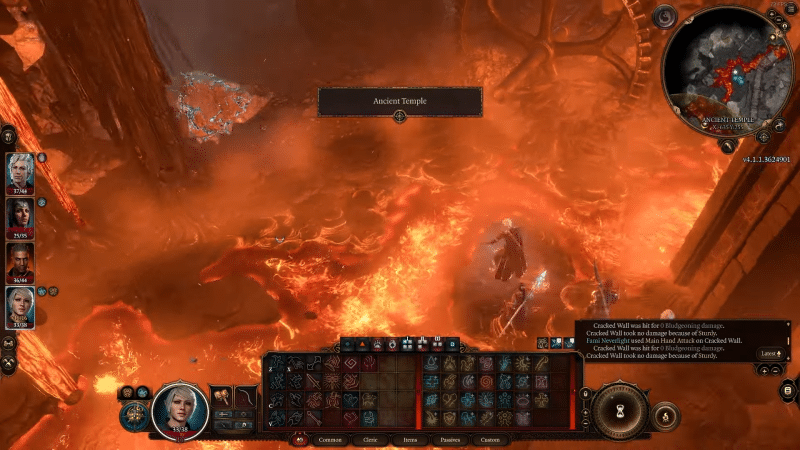
Mythril Deposit #2 – Ancient Temple
Coordinates: X: -635, Y: 255
A physical ability check is needed to jump the lava-filled gap unscathed to reach the ore deposit.
And that's all you'll need to gather all 6 of the currently available Moulds in Baldur's Gate 3.
For the latest Baldur's Gate 3 game guides, follow us on ESTNN.